Where there’s a will, there’s a willow!
The making of a willow farm
In January 2024, I joined the SnoValley Tilth Experience Farming Project in Carnation, Washington as a brand new willow farmer. I rent my field, and hope that my childhood in a farming family and my adulthood as a gardener give me a solid background for success. Read on to share in the hope, challenges, and weeds involved (so many weeds!).
CONTENTS
Getting started (this page)
Year one: Growing season and harvest notes
Year two: Grow, willow, grow!
Why start a farm?
Let’s be honest, I did not set out to be a willow farmer, this farm is born from a basic supply and demand issue for basketry willow.
What I really want to do is weave. In the first year of my obsession with weaving, I learned to make baskets in many styles using the gifts of diverse plants (pine trees, day lilies, and native blackberry, to name a few). But I kept reading about willow, and eventually took some classes with experienced willow basketmakers. To make your own willow baskets, it turns out you actually need a decent amount of willow (shocker, I know!). And therein lies the problem: there just aren’t many people growing and selling finished willow for use in basketmaking in the United States. To have a supply for myself, and for the students that I hope to inspire in the future, you kinda have to grow your own.
So I did what any ambitious gardener would do. I bought a few starts (more about willow growing later), and planted them at home. However, my husband and I are not really prepared to give up our diverse and beautiful garden to plant willow en masse, so I knew the corner of the garden where I started about 25 willows was mostly an experiment. I was going to need more space.
Finding Land
I started talking to friends and neighbors… Surely someone is willing to donate a chunk of their unused yard to grow some willow. At the same time, I started talking to some of the farms in the Snohomish Valley. Lots of farmers are interested in adding willow because it actually has great properties as a plant (preventing runoff in wet areas and offering very early spring flowers for pollinators, to name a few). Eventually I heard about the Experience Farming Project (EFP), a program of the non-profit Sno-Valley Tilth organization. This project is geared toward getting city folks a supported, low-commitment way to try their hand in farming.
Because willow doesn’t need prime land (it likes sun, but is happy in low areas that are prone to flooding), I was able to secure a previously unused field at EFP at a cost I could afford. I suddenly had a quarter acre to play with!
Getting Started
There were three main steps to getting the farm started:
Clear the field and mulch
Plant willow!
Set up a deer fence to protect the tasty young shoots
So step one, I needed to clear and till the field, as it was a fairly unruly tangle of canary reed grass and blackberry. I got help from EFP with this, as they have access to machinery and people kind enough to run it.
If you know anything about the more aggressive weeds like canary reed grass, Himalayan blackberry, or morning glory (Japanese bindweed), you know that tilling them is not going to kill them. They will spring back to life from buried pieces of roots come the growing season. I really wanted to avoid use of landscape cloth, so I ordered a HUGE pile of arborist chips (forty yards, a tractor trailer full!) to spread onto the cleared field. This would at least help deter some of the weakened weeds from coming back, as well as aid in moisture retention and keeping the soil cool during the summer.
The pictures below show one of a few days of working to cover the field with mulch in preparation for planting. The photos make it look like I did it myself, but my husband did a LOT of labor to help me move and spread the mulch, using our Tacoma as a giant wheelbarrow. We had to laugh at being city folks doing things the hard way.


Planting Willow!
What you need to know about willow is that it roots incredibly easily from existing stems. Plants in the wild use this special ability to reproduce from fallen branches, or even from branches leaning on the ground.
Cultivated willow is not grown by sowing seeds or transplanting young plants, as in ordinary agriculture. All you really need is a fresh stem of your chosen variety, preferably pencil size or larger, cut down to as little as 14 inches or so. When inserted into the ground in late winter or early spring, that stem will root and start new top growth in a matter of weeks.
Basketry willow has been grown for thousands of years (especially in Europe), and certain species and cultivars have been developed that have great characteristics for making baskets: straight stems that are slender and supple (and that don’t tend to branch), and bark with colors ranging from gold to burgundy to purple (plus varying tones of brown and green).
So to start a farm, you need to find some of these basketry cultivars. In the United States, there aren’t currently that many sellers of basketry willow rods (the term for stems that you can use for planting). In the Seattle area, we’re fortunate to have one, which is Dunbar Gardens out in Mt Vernon, WA. The bulk of my first year rods came from Dunbar, a few of which can be seen in the picture below — can you even believe how pretty those stems are??

I also had done some volunteering with other established willow growers, and as trade was able to take home a bunch of cuttings.
I mostly chose willow for basketry (obvi). However, I couldn’t resist planting a few “fun” willows which have decorative qualities so I can up my winter decor game.
Here are the varieties chosen mostly for their basketry characteristics (these also have uses in the landscape and for living structures):
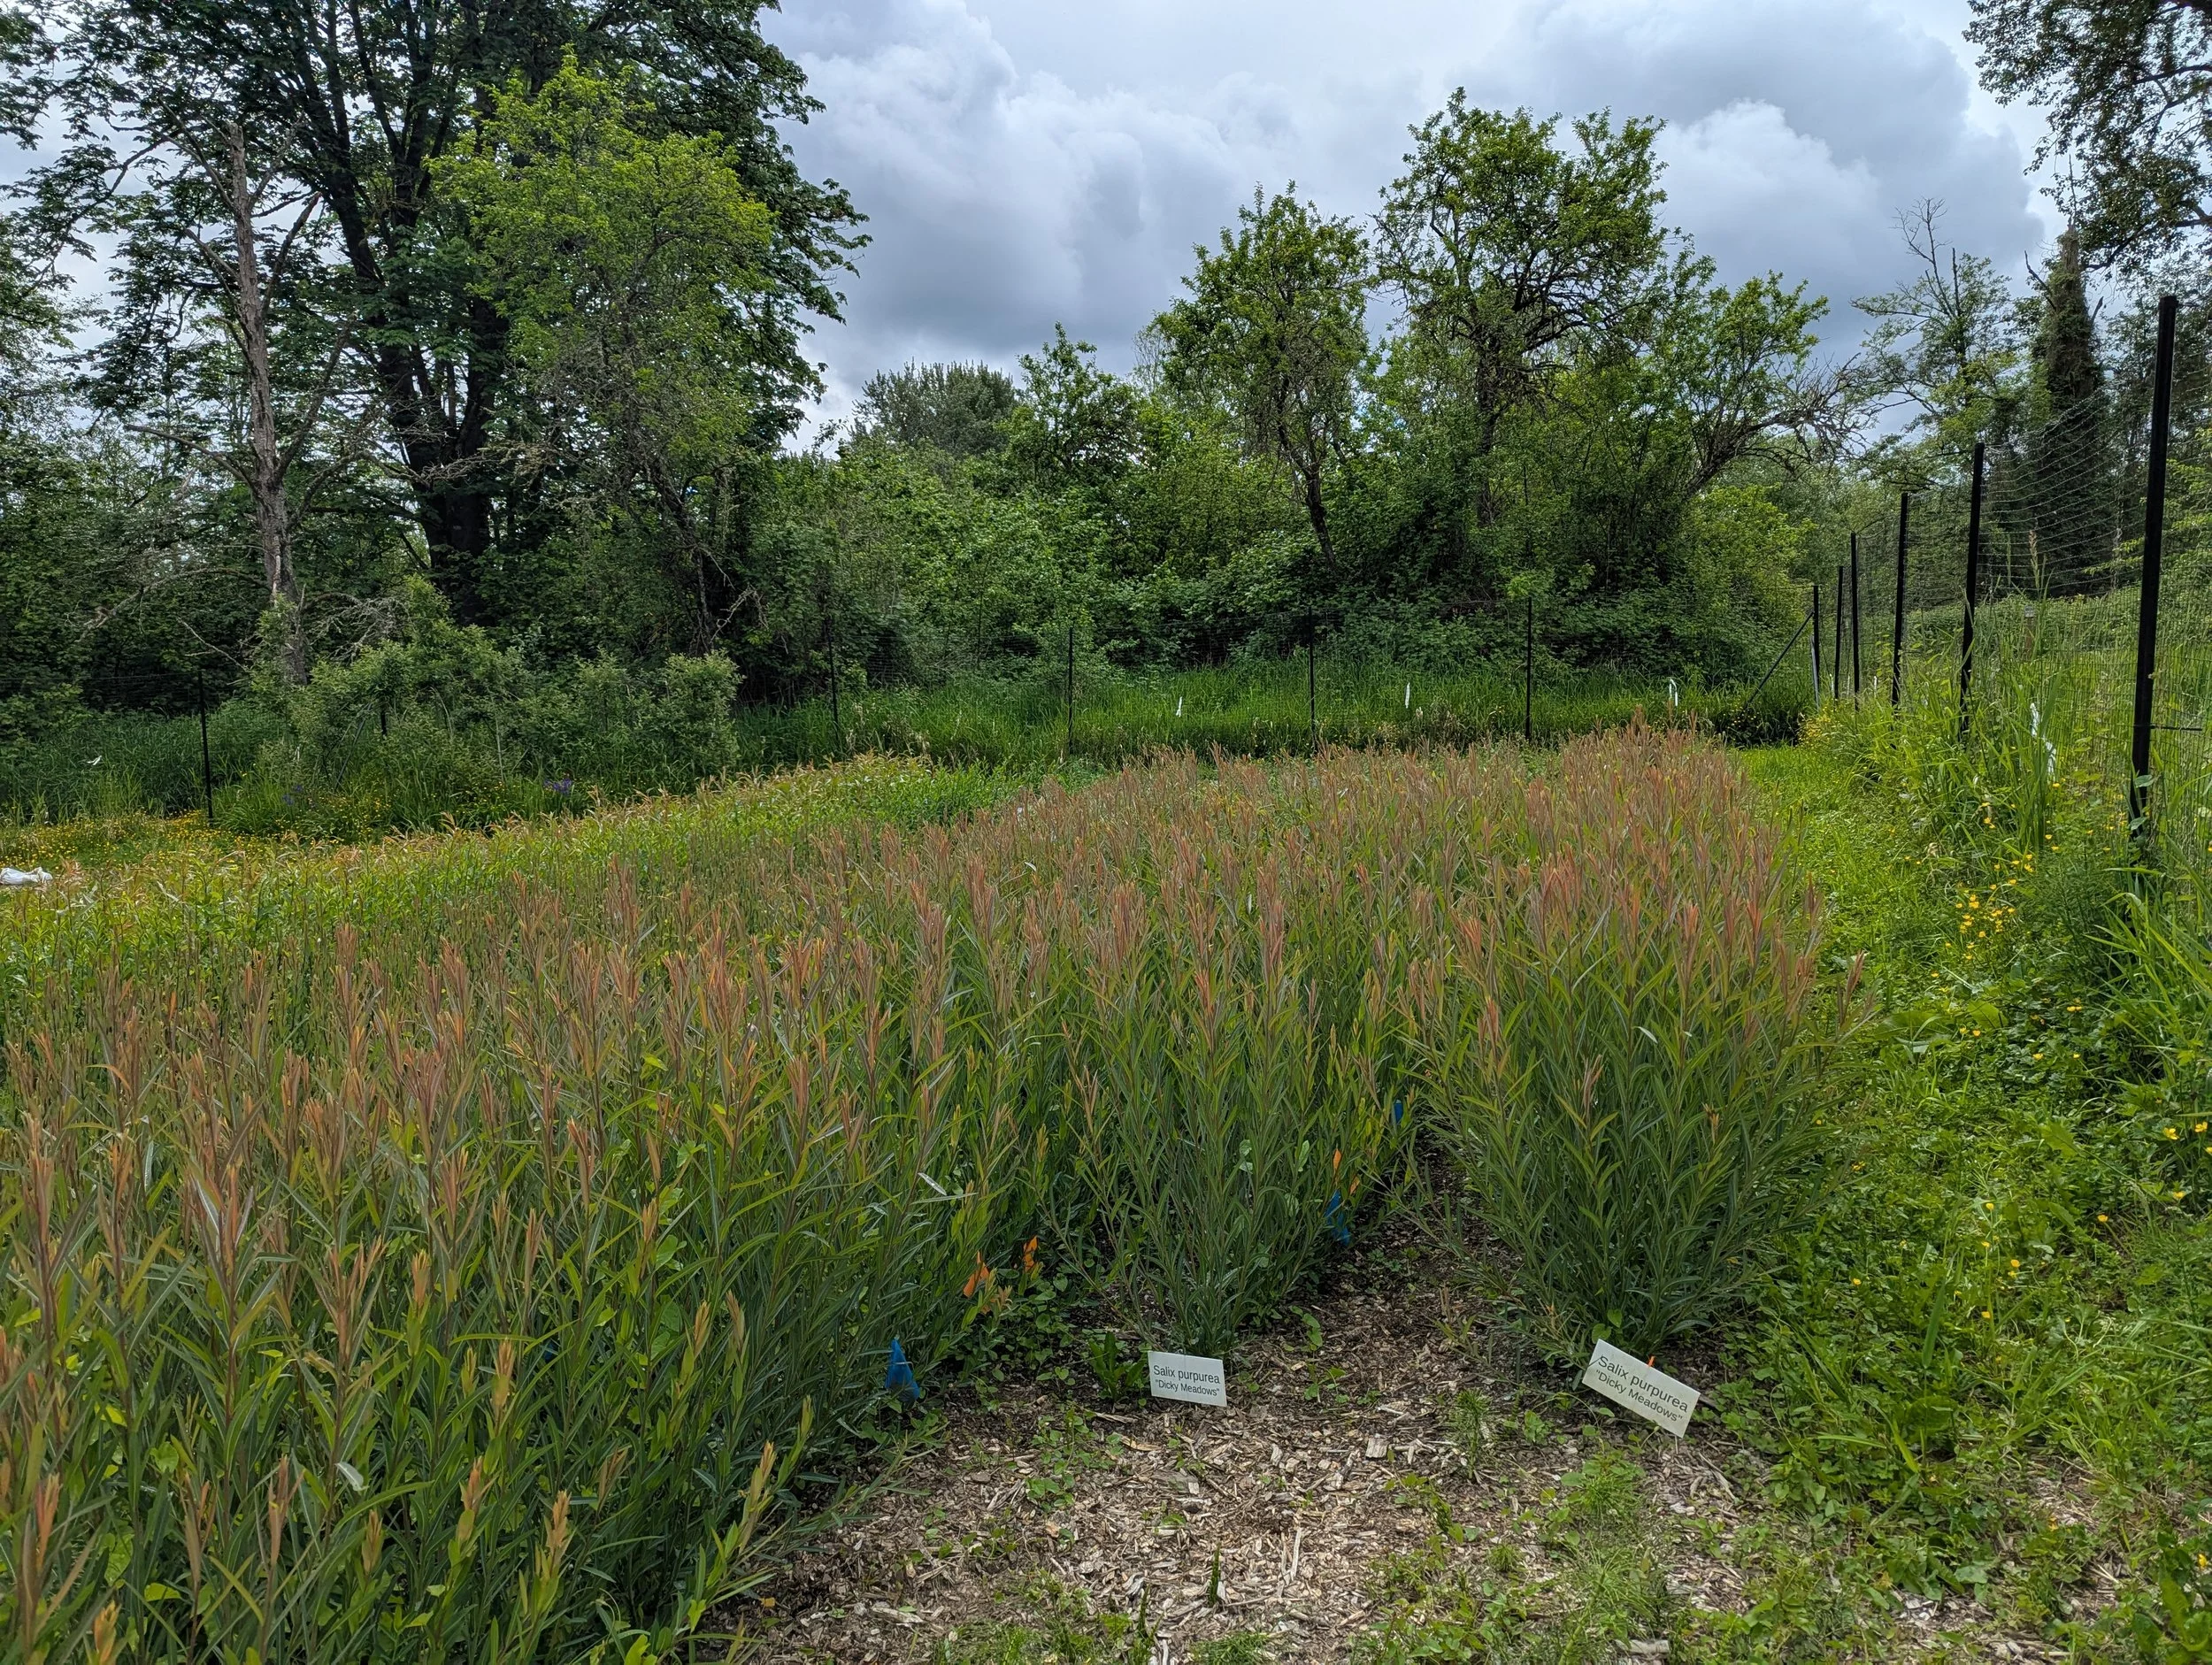
Salix purpurea ‘Dicky Meadows’
Salix purpurea ‘Dark Dicks’
Salix purpurea ‘Bleu’
Salix acutifolia
Salix triandra ‘Whissender’
Salix fragilis ‘Jaune de Falaise’
And then here are a few planted for decorative qualities, think dried winter arrangements or whimsical touches in flower arranging:
Salix gracilistyla ‘Mount Aso’, known for its showy pink pussy willow catkins (which are the male flowers)
Salix gracilistyla ‘Melanostachys’, also grown for the colorful pussy willows, but this time the buds start out dark purple or even black
Salix erythroflexuosa ‘Red Twisted’ and ‘Yellow Curls’, both curly willows whose first year stems look stunning left standing in the garden in winter, or harvested for use in arrangements.
Salix udensis ‘Sekka’… aka Japanese fantail willow. This is a species that exhibits “fasciation”, a mutation that can occur in many plants that causes some bizarre twisting in the stems and malformed flowers. Sounds weird, but some of the individual stems can turn out with very artistic expressions.
More on all the willow types when I harvest and maybe have some example works I can share with the various cultivars.
I decided to plant about a third of the field. I’ll double the plot in 2025, hopefully using cuttings from the first year harvest to seed the second year. I also want to plant some of my favorite weaving “besties” out at the farm (day lily, Siberian iris, red twig dogwood among others), in order to have a bit of a weaver’s showcase of plants.
The willow is planted in rows thirty inches apart, with six to eight inches between plants. This recommendation came from Steve out at Dunbar, and represents pretty tight spacing. The idea is that you want the willow to fight for space a bit, with growth being forced straight up — this should make it easier to get consistent rods for weaving. The tight planting does mean it will be a little tricky to get into the rows when they’re actively growing, but generally you don’t need to do much care for the plants during the growing season.
Here are a few pictures of the willow being planted. I had some expert help in the form of my neighbor’s eight year old, Eva.


Deer Fence
So it turns out, willow is tasty to a number of creatures. The farm field out in Carnation is frequented by beaver, rabbits, and deer, all of whom like to munch on willow, especially the young growth. So after getting the initial willow planting done, we built a wildlife fence before the willow started growing.
I knew enough about deer fence that it had to be taller than standard fencing, but had never constructed one. The good folks at Critter Fence helped me pick out a deer fence (which is essentially a plastic mesh) plus a rodent barrier (which is a shorter metal mesh attached to the bottom), including corner braces and recommended number of posts for my size.
My husband likes to fuss over details, while I’m a bit more of a “get ‘er done” type personality. Between the two of us, we got the posts up — maybe 400 linear feet? — in a day. We went out a week or so later to attach the mesh to the posts. All in all, it turned out pretty well for two amateur fence installers. (Note: a year later, the fence is still nice and sturdy!)


Continue on to read about my year one growing season and harvest.
